

New technologies and modern concepts require close cooperation of the individual partners in dentistry, dental technology and also dental industry. Dr. Cary Brown and dental technician Frankie Acosta, both from California, USA, have worked together for seven years now and are a well-rehearsed team, who are enthusiastic practitioners of digital dentistry. They have integrated a large number of digital solutions into their workflows which have made it significantly easier to exchange information. These include Primescan, the intraoral scanner from Dentsply Sirona. Primescan makes their everyday practice processes in restorative, orthodontic, cosmetic and implant dentistry faster, more accurate and easier than ever before. Digital impression taking improves communication between dentist and dental technician significantly. Add to this the combination of accurate digital planning and the possibility of personally exchanging information between the partners, as in the patient case presented here, and you have the ideal scenario.
Case report
The 32-year-old male patient showed severe abrasive and erosive tooth structure defects on all teeth, resulting in a massive loss of vertical dimension. The patient works in a field where esthetic appearance is important and therefore wanted an enhanced smile and a better look. He asked for a complete reconstruction of all teeth as well as a much brighter tooth color.
Diagnosis and etiology
The maxillary anterior region presented clearly visible, multiple unsightly vertical abfractions due to an untreated trauma in childhood. (Figs. 1A & 1B) The patient declared that he crunches, mainly at night. He did not report any sensation or pain in the area of the muscles and jaw movements. Teeth 26-27 and 15-16 showed old amalgam restorations; 36 was very carious and no longer worth preserving; 46-47 showed insufficient ceramic restorations; 45 was strongly elongated and tilted towards the vestibular side. (Figs. 1B & 1C) Apart from the loss of the vertical dimension and the resulting disharmony of the incisal edge and the altered length-width ratio of the anterior teeth due to the abrasive loss of substance, anterior esthetics were not negatively affected. The teeth showed no visible discoloration and the center line was correct. No inflammation signs or periodontal attachment loss were observed gingivally.
Fig. 1A
Extraoral view of the initial situation, the center line is correct.
Fig. 1B

Multiple unsightly vertical abfraction of the incisal edges are visible at 11 and 12
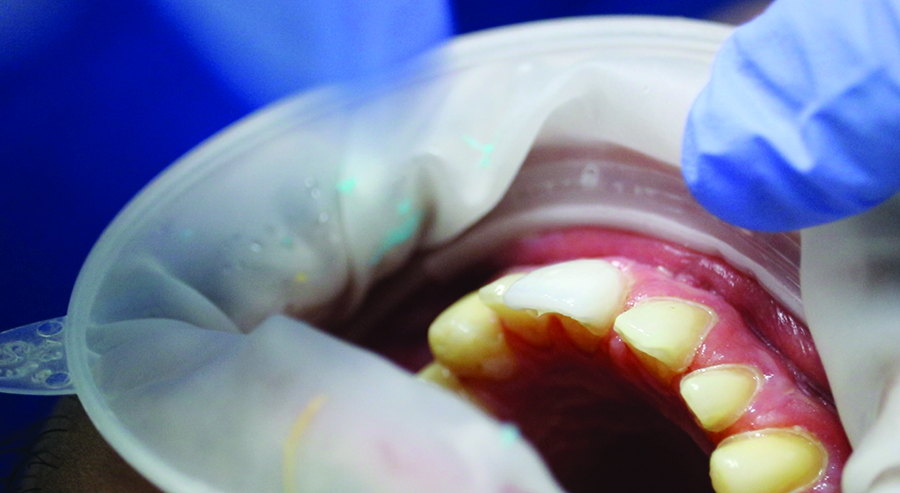
Fig. 1C
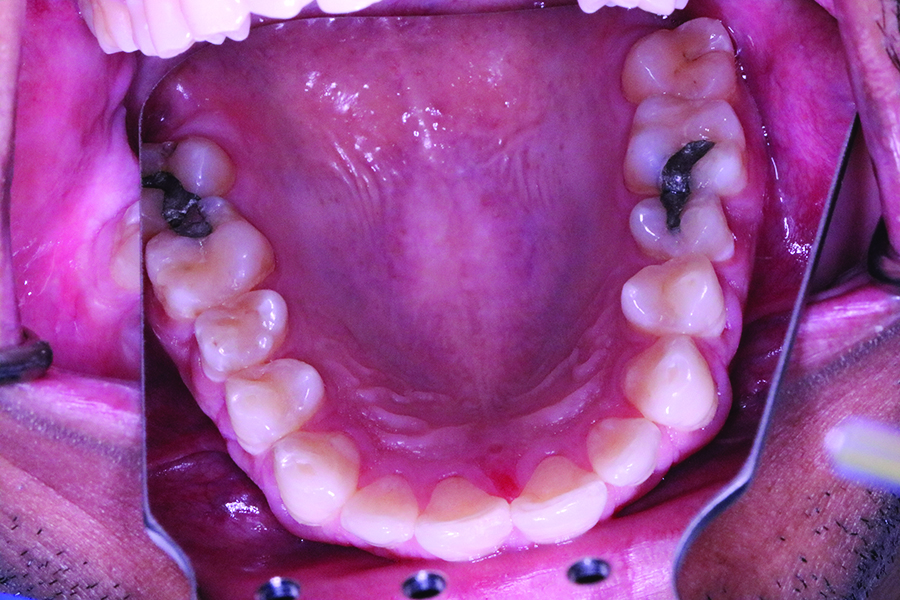
Initial situation, occlusal view of the maxilla. The massive loss of hard tooth substance is clearly visible.
Fig. 1D

Initial situation, occlusal view of the mandible. Also, visible here, the extensive
damage to the hard tooth substance and the severely carious lesion at 36.
Treatment planning
In the first session, we scanned the patient’s oral situation with Primescan. This is a standardized procedure for us because it allows us to accurately assess the intraoral situation, even in subgingival areas. It is also the starting point for further digital processes, such as treatment planning with the dental technician. We also took a 3D x-ray image and pictures of the patient’s face. Based on that, we talked through the treatment options as well as potential challenges with the patient.
Digital impression taking with Primescan is very accurate, the digital model is immediately available and can be discussed directly with the dental technician while the patient is sitting on the treatment chair, via a chat tool in the Connect Software. This was very helpful, because the technician could review the scanned data and request additional views or angles.
In this case the decision was made to extract tooth 36 for implant prosthetic restoration and to make a conventional restoration of teeth 14-24 and 33-44 with veneers and crowns. This involved sacrificing large areas of healthy tooth substance by means of preparation measures. The associated risks of preparation trauma and even loss of vitality were discussed in detail with the patient and taken into account. Due to the high esthetic demands of the patient and the abrasive dentition, finding a suitable material was also important.
The adhesive restoration of the case, primarily with e.max CAD lithium disilicate ceramic labial veneers and only partial crowns, represents a substance-conserving alternative to complete crowns, which is certainly superior to the conventional procedure in terms of esthetics.
Fig. 2

Patient consultation based on the CBCT image (Galileos, Dentsply Sirona).
Fig. 3

Transmission of the digital data to the laboratory for the 3D Face Scan via the
Connect Case Center.
Fig. 4
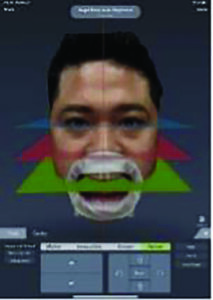
Result of the analysis from 3D facial scan on iPad pro.
Fig. 5
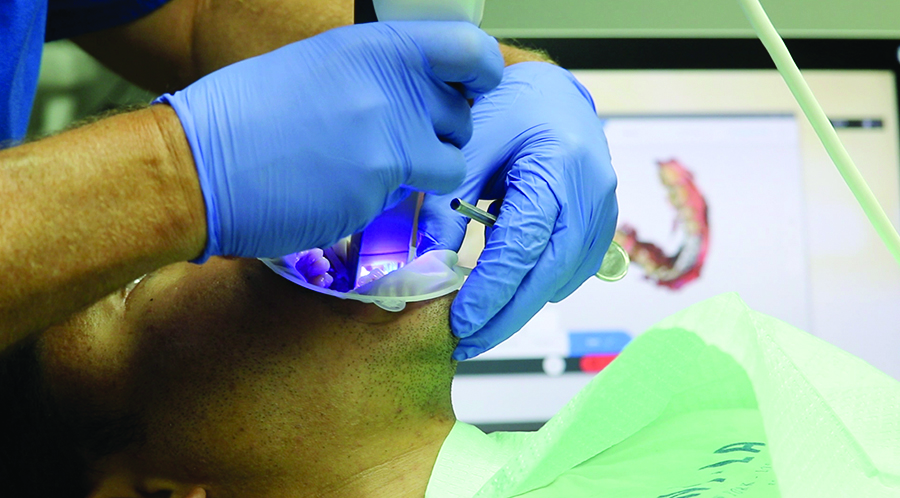
Scan of the intraoral situation with Primescan.
Fig. 6
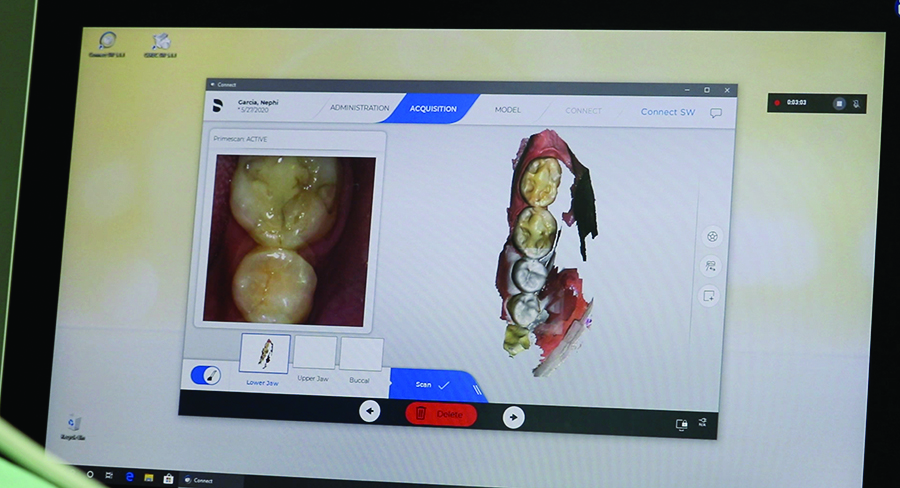
Primescan recordings of the initial situation.
Fig. 7

Planning and consultation based on Primescan images in the dentist/dental technician team.
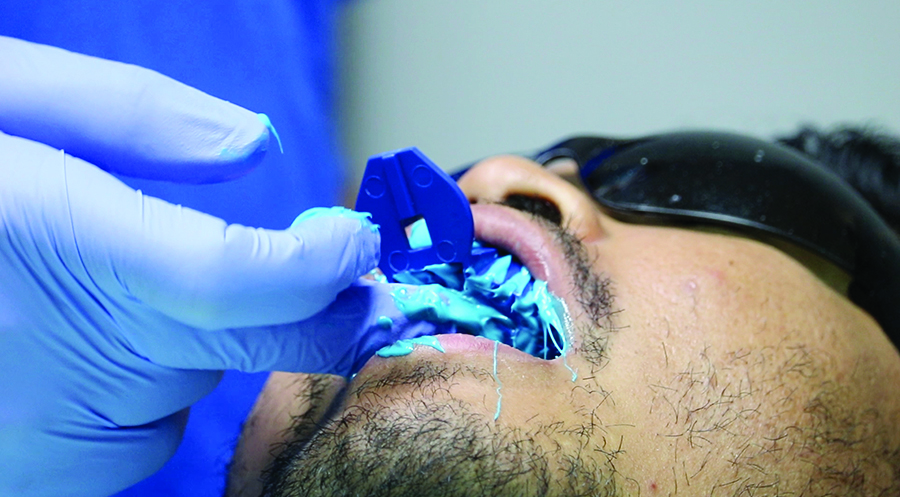
Fig. 8A

The putty matrix for the mock-up.
Fig. 8B
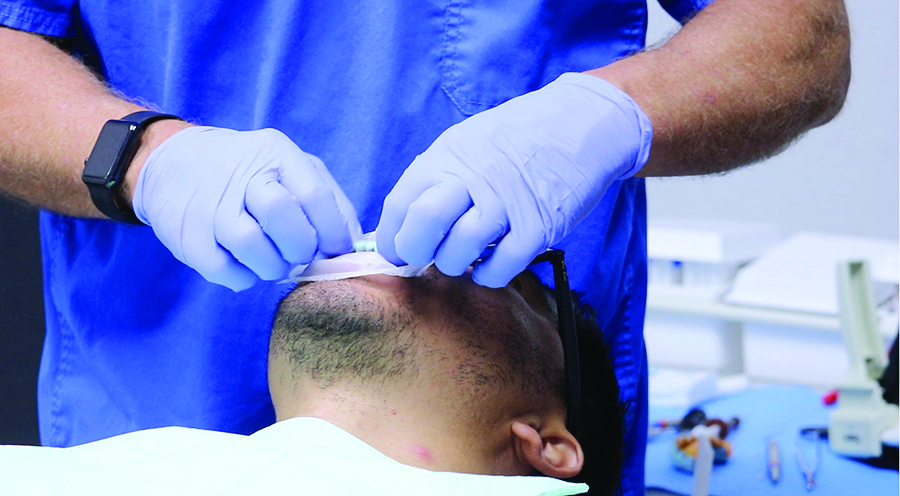
Placing the putty in the mouth.
Fig. 8C

Hardening of the mock-up.
Fig. 8D

The final cured mock-up
Fig. 9A
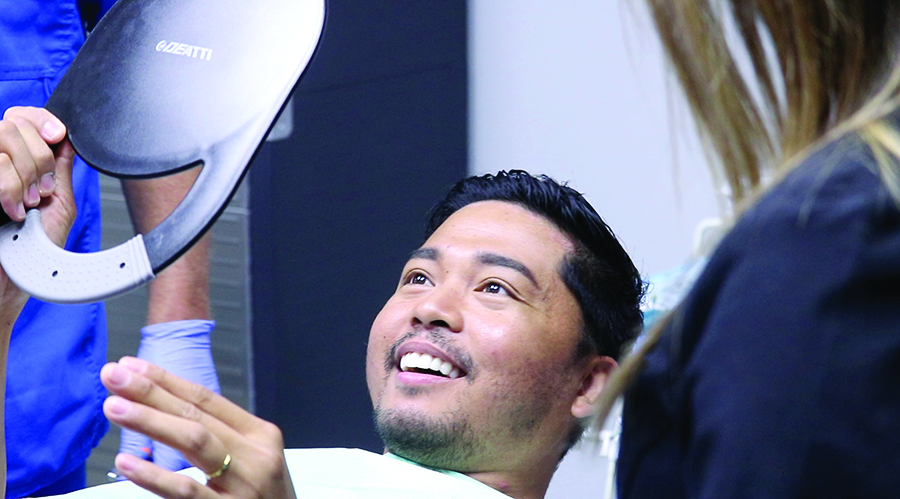
The patient’s first look in the mirror.
Fig. 9B
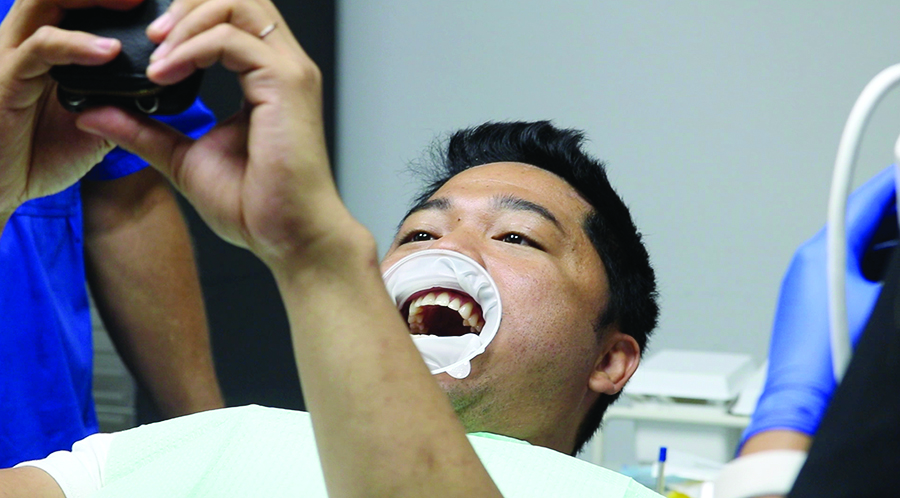
The first selfie with mock-up in situ.
Fig. 9C

The smile line with the mock-up in situ.
Fig. 9D

The smile of the patient with mock-up in situ.
Fig. 10A
The preparation
Fig. 10B

Occlusal view of the maxilla after preparation.
Fig. 10C

Occlusal view of the mandible after preparation.
Treatment summary
The patient was able to understand his dent al problems and current situation well based on the images and scans but could not imagine the prosthetic challenges. He only knew that he did not want to tolerate his shortened tooth shape anymore. Like many patients he was pretty sure what would be beautiful and suitable for himself when seeing a potential final result. A mock-up therefore is very helpful for this purpose, but also for evaluation. Primescan was able to give an accurate 3D rendering of the existing oral hard and soft tissues. From this starting point, the dental technician was able to create an esthetic design that would function in harmony with the existing oral structures.
For a perfect smile design, all relevant information was added in the digital 3D facial scan, such as horizontal, centerline and length/width ratio. For the transfer of the data to the AA Dental Design Lab of Frankie Acosta, we used the Connect Case Center. This is the direct and seamless path to a laboratory, regardless of which CAD software the dental technician is working with. He then was able to create a digital smile analysis and to design a putty matrix for mock-up, while the patient was still in the chair. During the same session, a complete reconstruction of the planned restoration was performed as a type of try-in directly on the patient’s teeth. The patient was very satisfied with the fitting, so we performed an intraoral scan directly. He went home with this “temporary” for a week to check how the restoration worked for him: Do the esthetics fit? Are there any problems with speech? How does it feel to bite down? And above all: What would his wife think about it?
A week later, the young man had only minor requests for adjustments to the tooth shape, particularly in terms of length, and he wanted a small reduction in the anterior region, based on the advice of his wife. This was immediately adjusted on the mock-up and approved by the patient. After preparing the teeth they were scanned with Primescan and the data was sent through the Connect Case Center to the laboratory. Because completion of the case was planned for the same day, an additional impression was also taken in the patient’s mouth in order to make an analogous plaster model for the individualization of the cosmetic restorations in the laboratory.
Then the prototypes of the crowns and veneers were created and individualized in the laboratory and the tooth color (B02) determined using the CAD/CAM process. It was then immediately returned to the practice in order to carry out a try-in on the patient before the crystallization firing.
The patient confirmed the esthetics so that the dental technician could finalize the prosthetics. The restorations were incorporated and adhesively cemented, and the patient was sent home. After a week, the occlusion was checked, no adjustments were needed, and the margin areas received a final polish. The end of treatment situation was again recorded with photos and a new intraoral scan with Primescan for an occlusal guard.
Fig. 11A

Intraoral scan (Primescan) of the prepared situation.
Fig. 11B

The intraoral scan (Primescan) is sent to the laboratory via CCC
Fig. 12A

Intraoral analog impression of the preparation for making the cast model
Fig. 12B
Curing of the analog cast in the maxilla
Fig. 12C

Curing of the analog cast in the mandible.
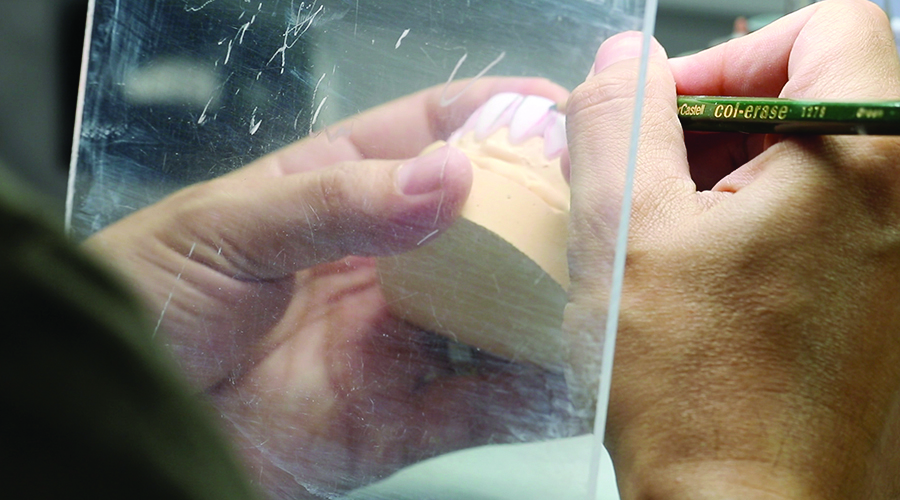
Fig. 13A

The scanned model for planning the restoration in inLab.
Fig. 13B

Design of crowns and veneers in inLab.
Fig. 13C

Marking the preparation margin for designing a crown in inLab.
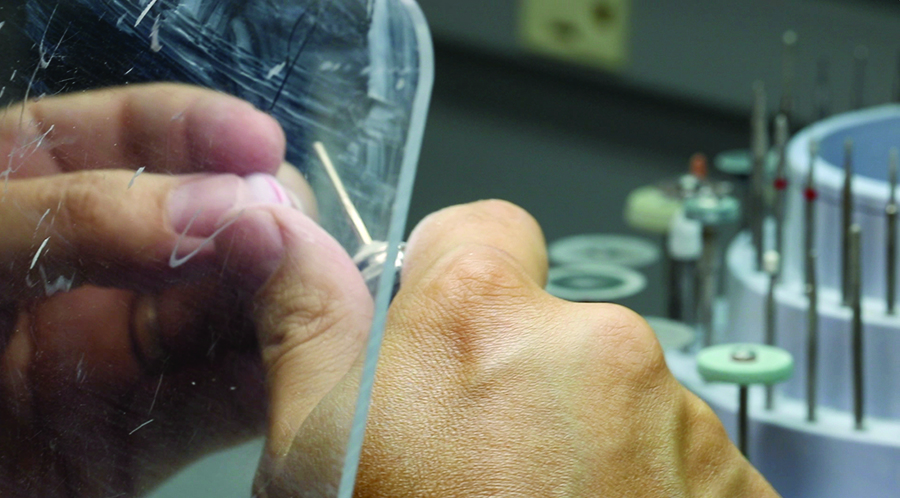
Fig. 14A

The CAD/CAM manufactured veneers and crowns for individualization on the maxillary model.
Fig. 14B

The CAD/CAM manufactured veneers and crowns for individualization on the maxillary model.
Fig. 14C
The CAD/CAM manufactured veneers and crowns for individualization on the maxillary model.
Fig. 14D
The CAD/CAM manufactured veneers and crowns for individualization on the maxillary model.
Fig. 15
Try-in of the blanks before the crystallization firing.
Fig. 16

The crystallized veneers and crowns.
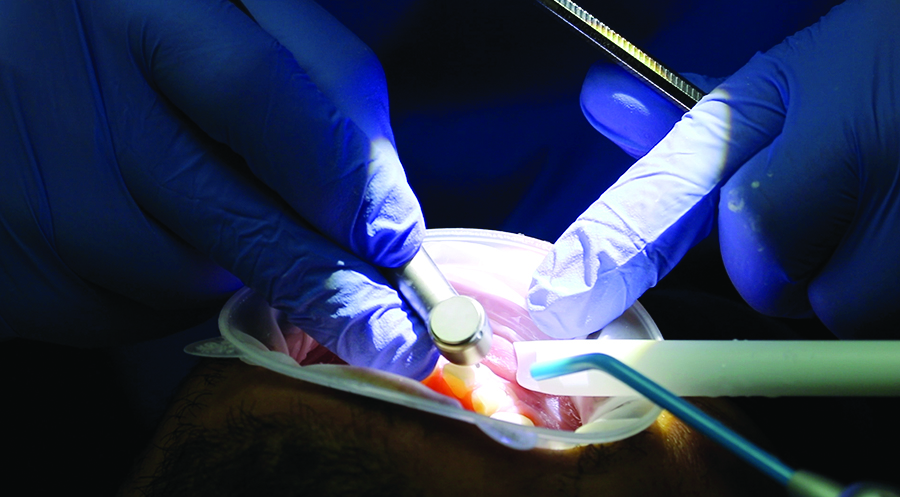
Fig. 17
Incorporation and bonding with Peak Universal Bond.
Fig. 18

The light curing.
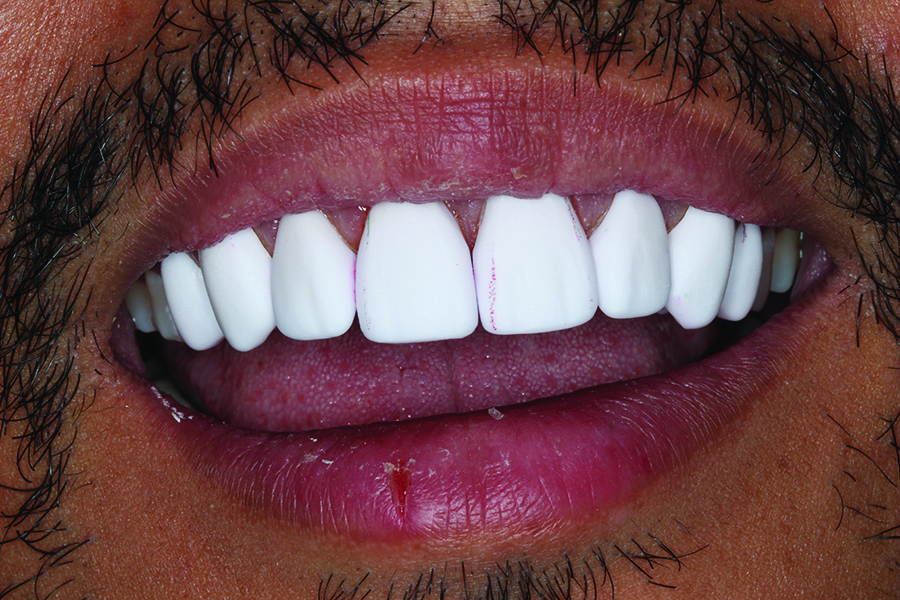
Fig. 19A

The final restoration in situ.
Fig. 19B

The happy smile of the patient.
Conclusion
The patient’s wishes regarding the esthetics and functionality of the prosthesis could be fulfilled completely, in high quality and in a very short time. The restoration of lost tooth structure by abrasion and abfraction with veneers and crowns offered the patient the desired esthetics and safety.
To complete this type of case in such a short time would probably not have been possible without Primescan and CAD/CAM technology as well as the close working relationship between dentist and dental technician. Such smart technologies as Primescan and this kind of team play are what make modern digital dentistry so successful and make the work so interesting. Many things become possible thanks to digital data transfer and close communication between the laboratory and practice. Digitally supported procedures give all those involved more opportunities to accomplish treatments that are both fast and safe.
The patient was thrilled and amazed by the technology and by what can be achieved in such a short time. He explained that he had received many positive reactions from his friends and family.
Oral Health welcomes this original article.
Cary Brown, AA Dental Surgery Center, 41548 Eastman Dr Suite G, Murrieta, Ca 92562, USA. Email: gr8whites@gmail.com
Frankie Acosta, AA Dental Design, 41548 Eastman Dr Suite G, Murrieta, Ca 92562, USA. Email: aadental@aol.com
About the Author
 Cary Brown has been in practice for 25 plus years in Southern California. His practice is limited to surgical and advanced restorative procedures. His dental office relies on digital technology such as optical scanning, cone beam radiology and cad/cam work flows. Dr Brown has the position of clinical advisor for one of the countries leading digital dental laboratories, AA Dental Design.
 Frankie Acosta has been a dental technician since 1986. He has owned and operated three full service laboratories. At AA Dental Design, he has built a powerhouse focused on processing digital and conventionally impressed restorations by utilizing the CEREC inLab to its fullest. Every restoration is processed with the CEREC inLab system which created his motto of All CEREC All the Time. He is a software Beta Tester and a certified advanced trainer for Sirona and Patterson Dental. He has founded and moderates www.CERECondemand.com which is a CEREC educational site for all professionals in the dental field. He has also established the CEREC OnDEMAND Education Center in Murrieta, CA where he is a basic/intermediate/advanced trainer for the CEREC inLab and the CEREC Chairside